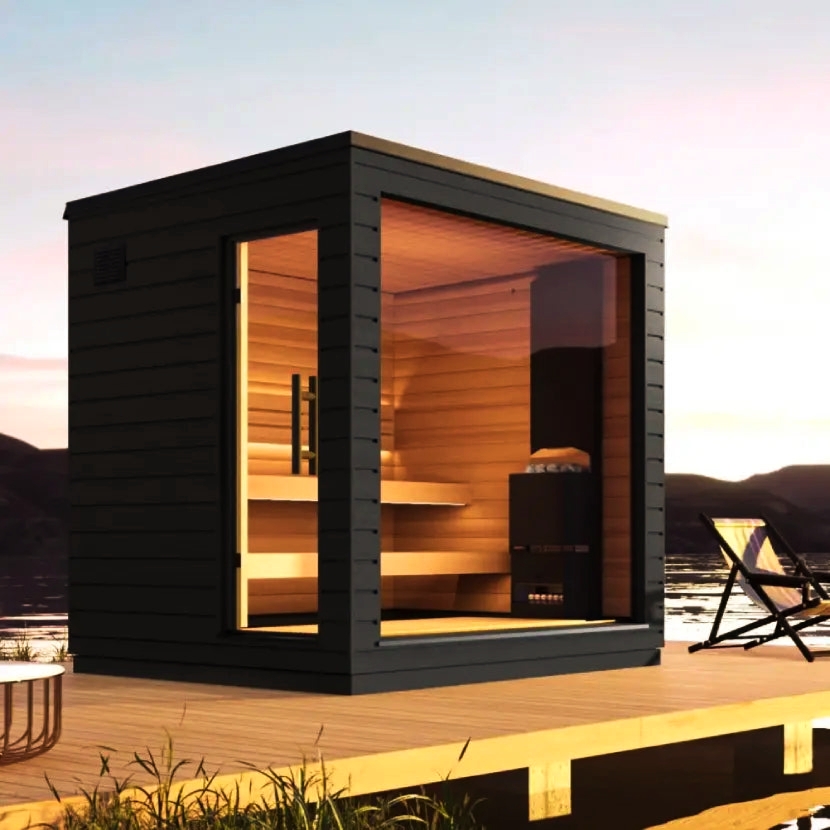
Why Build an Outdoor Sauna?
A Complete Guide Creating your own outdoor sauna can be a rewarding project, offering a private space to relax, rejuvenate, and enjoy the benefits of heat therapy. This guide will take you through the process step-by-step, ensuring you can build your sauna efficiently and safely.
1. Benefits of an Outdoor Sauna:
Before starting, it’s important to understand why an outdoor sauna is a great addition to your home:
Relaxation:
Provides a calm retreat to unwind after a long day.
Health Benefits:
Improves circulation, detoxifies the body, and relieves muscle tension.
Property Value:
Enhances the aesthetic and financial value of your property.
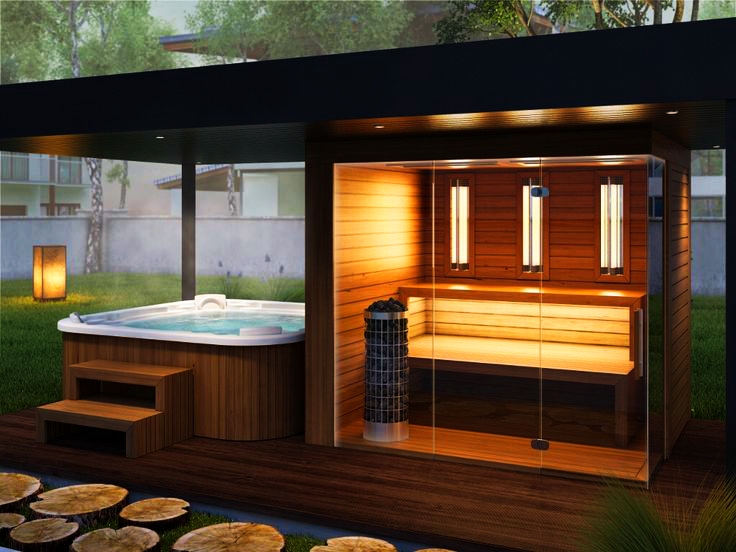
Natural Setting:
Enjoy a serene experience surrounded by nature.
2. Materials Needed to Build an Outdoor Sauna:
Before starting construction, gather these essential materials:
Wood:
Use heat-resistant wood like cedar, pine, or spruce.
Sauna Heater:
Choose between electric, gas, wood-fired, or infrared heaters.
Insulation:
For maintaining heat efficiency (e.g., fiberglass or foil-backed insulation).
Vapor Barrier:
To prevent moisture damage.
Doors and Windows:
Consider tempered glass or insulated materials.
Flooring:
Opt for concrete, tiles, or wooden slats with proper drainage.
Ventilation System:
Essential for air circulation and safety.
Tools:
Hammer, drill, saw, measuring tape, and screws.
3. Steps to Build an Outdoor Sauna:
Step 1: Plan the Location:
Choose a flat, accessible area in your backyard or garden. Ensure it’s away from overhanging branches and close to utilities like electricity or water if needed.
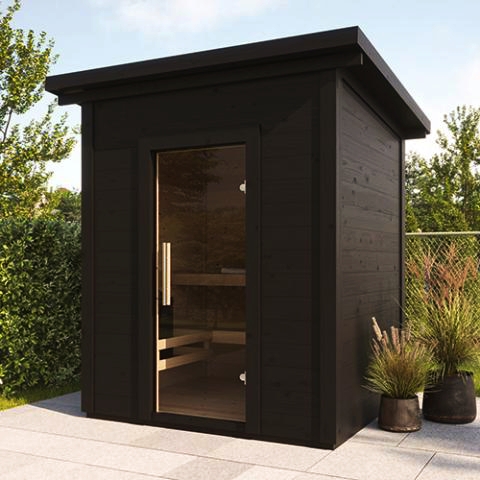
Step 2: Design Your Sauna:
Decide on the sauna’s size (e.g., 6×6 ft for 2-3 people or larger for more). Sketch the design, including a changing room or porch if desired.
Step 3: Prepare the Base and Foundation Concrete Slab:
Lay a concrete slab for a stable foundation.
Decking or Gravel:
Alternatively, use decking or gravel to provide drainage and stability.
Step 4: Frame the Structure
Use 2×4 or 2×6 timber to build the sauna’s walls and roof frame. Leave spaces for windows, doors, and ventilation openings.
Step 5: Install Insulation and Vapor Barrier:
Add insulation inside the walls, roof, and floor to retain heat. Cover the insulation with a vapor barrier to prevent moisture buildup.
Step 6: Add Interior Paneling:
Nail heat-resistant wood like cedar or spruce to the interior walls and ceiling. Ensure smooth finishes to avoid splinters.
Step 7: Install Flooring:
Use heat-resistant, non-slip flooring like tiles or wooden slats. Leave gaps for drainage or include a floor drain.
Step 8: Set Up the Heater:
Wood Heater:
Install a chimney and follow local fire safety regulations.
Electric Heater:
Ensure proper wiring by a licensed electrician. Place rocks on the heater for a traditional sauna experience.
Step 9: Add Benches:
Build benches at two levels:
Lower Bench:
Cooler for beginners.
Upper Bench:
Hotter for experienced users.
Step 10: Install Ventilation:
Add a vent near the floor for fresh air intake. Install an exhaust vent near the ceiling for airflow and safety.
4. Safety Precautions:
Use only fireproof materials near heaters. Ensure electrical wiring is done by professionals. Check local building codes and permits before construction. Maintain proper ventilation to avoid suffocation.
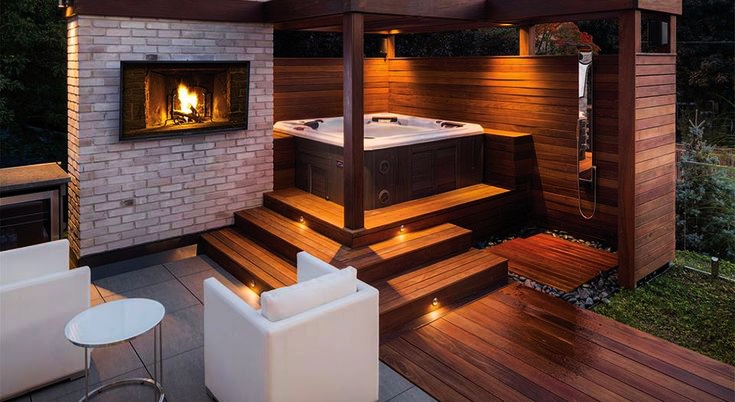
5. Decorating and Maintaining:
Your Sauna Decoration Tips Add LED lights for ambiance. Use wooden hooks and shelves for towels. Include a bucket and ladle for water to pour on hot rocks.
Maintenance Tips:
Regularly clean walls and benches with mild soap and water. Inspect heaters and ventilation systems frequently. Replace any damaged or warped wood.
6. Cost Breakdown of Building an Outdoor:
Sauna The overall cost depends on the size, materials, and type of heater: Materials: $1,000–$5,000 (Approx.)
Labor:
Save costs by building it yourself or hire professionals for $2,000–$4,000. Heater: $300–$1,000 (depending on the type).
7. DIY Outdoor Sauna vs. Prefab Kits DIY Sauna Pros:
Customizable, cheaper, and fulfilling.
Cons:
Time-consuming and requires basic construction skills.
Prefab Sauna Kits Pros:
Quick and easy to install.
Cons:
Expensive and limited customization options.
Conclusion:
Building an outdoor sauna is a fulfilling project that offers years of relaxation and health benefits. With proper planning, quality materials, and attention to safety, you can create a sauna tailored to your needs and style. Start your sauna project today and enjoy a warm escape in your backyard!